Wednesday 28 September 2016

Rorke's Drift Battle Cry Adaptation

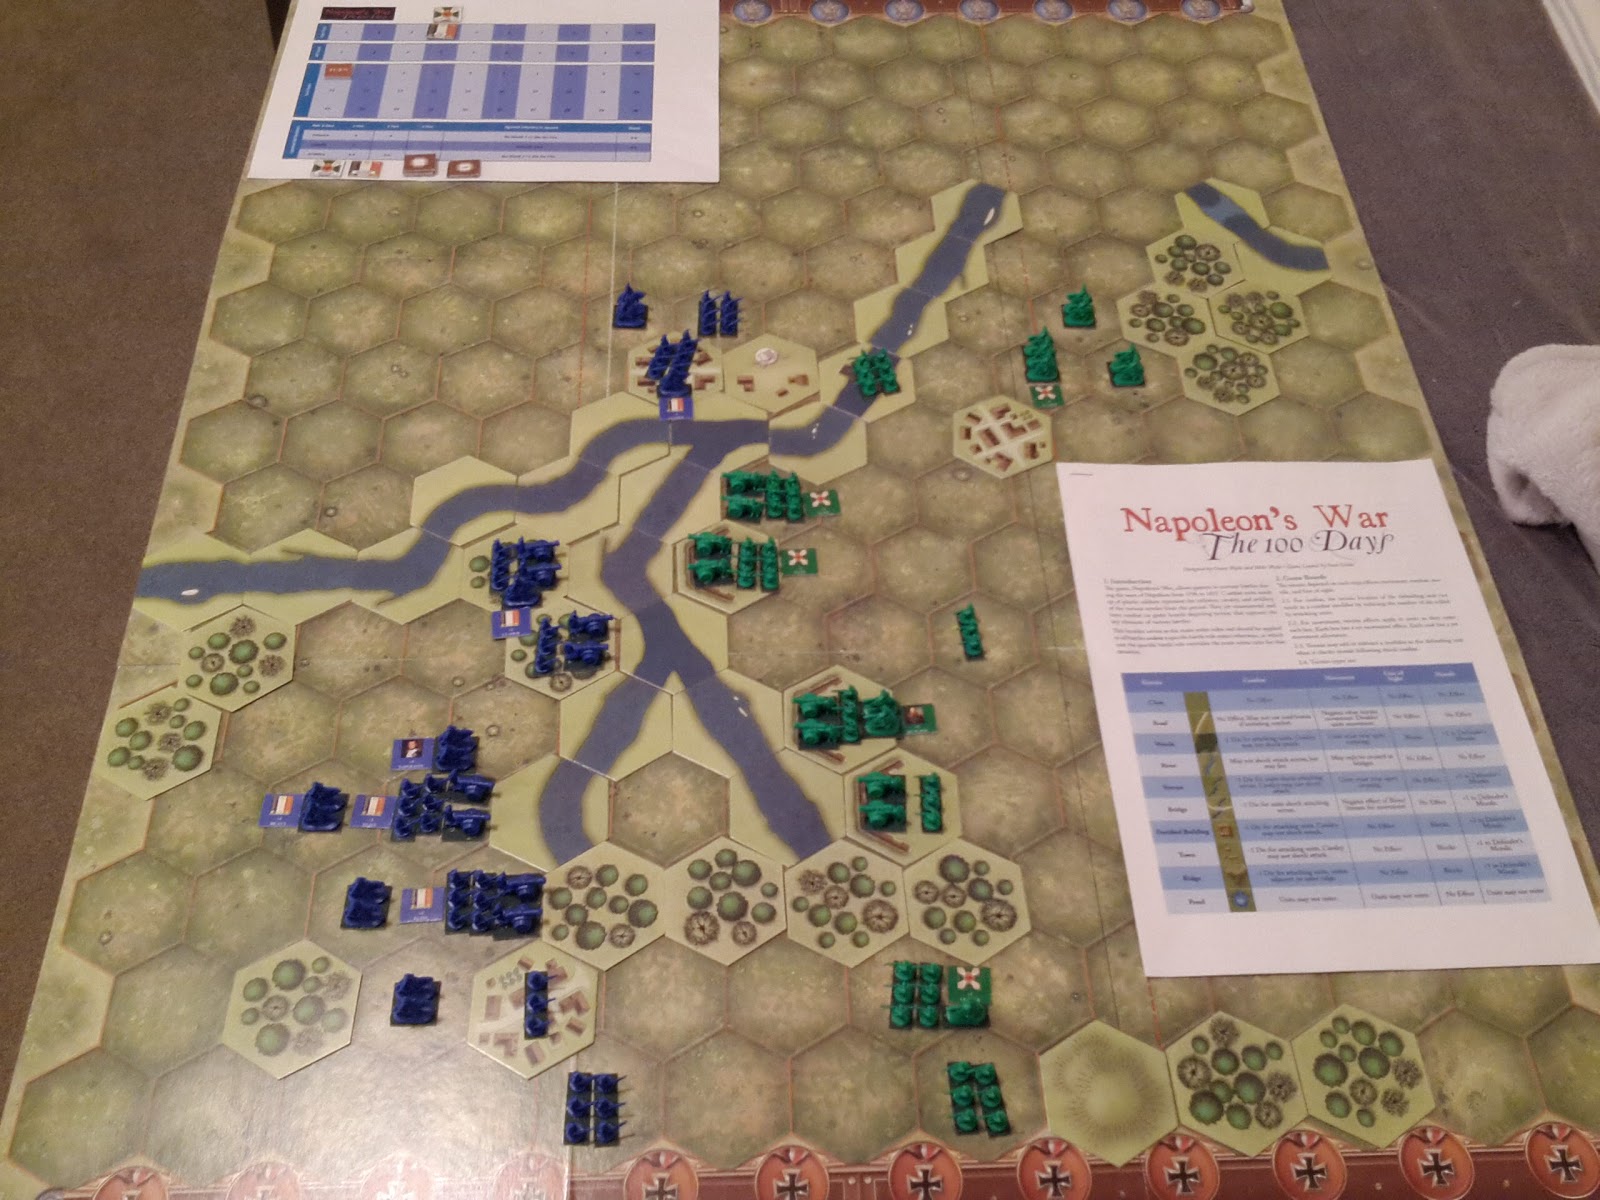
I decided to try out a suggested setup from Board Game Geek which had some variant rules to represent the Zulu War encounter at Rorke's Drift. I plan to get some 1/72 plastic figures to represent the forces involved but in the meantime I used my Risk figures. 

For Zulus I substituted my Lord of the Rings Risk models so it really became Orc's Drift instead.


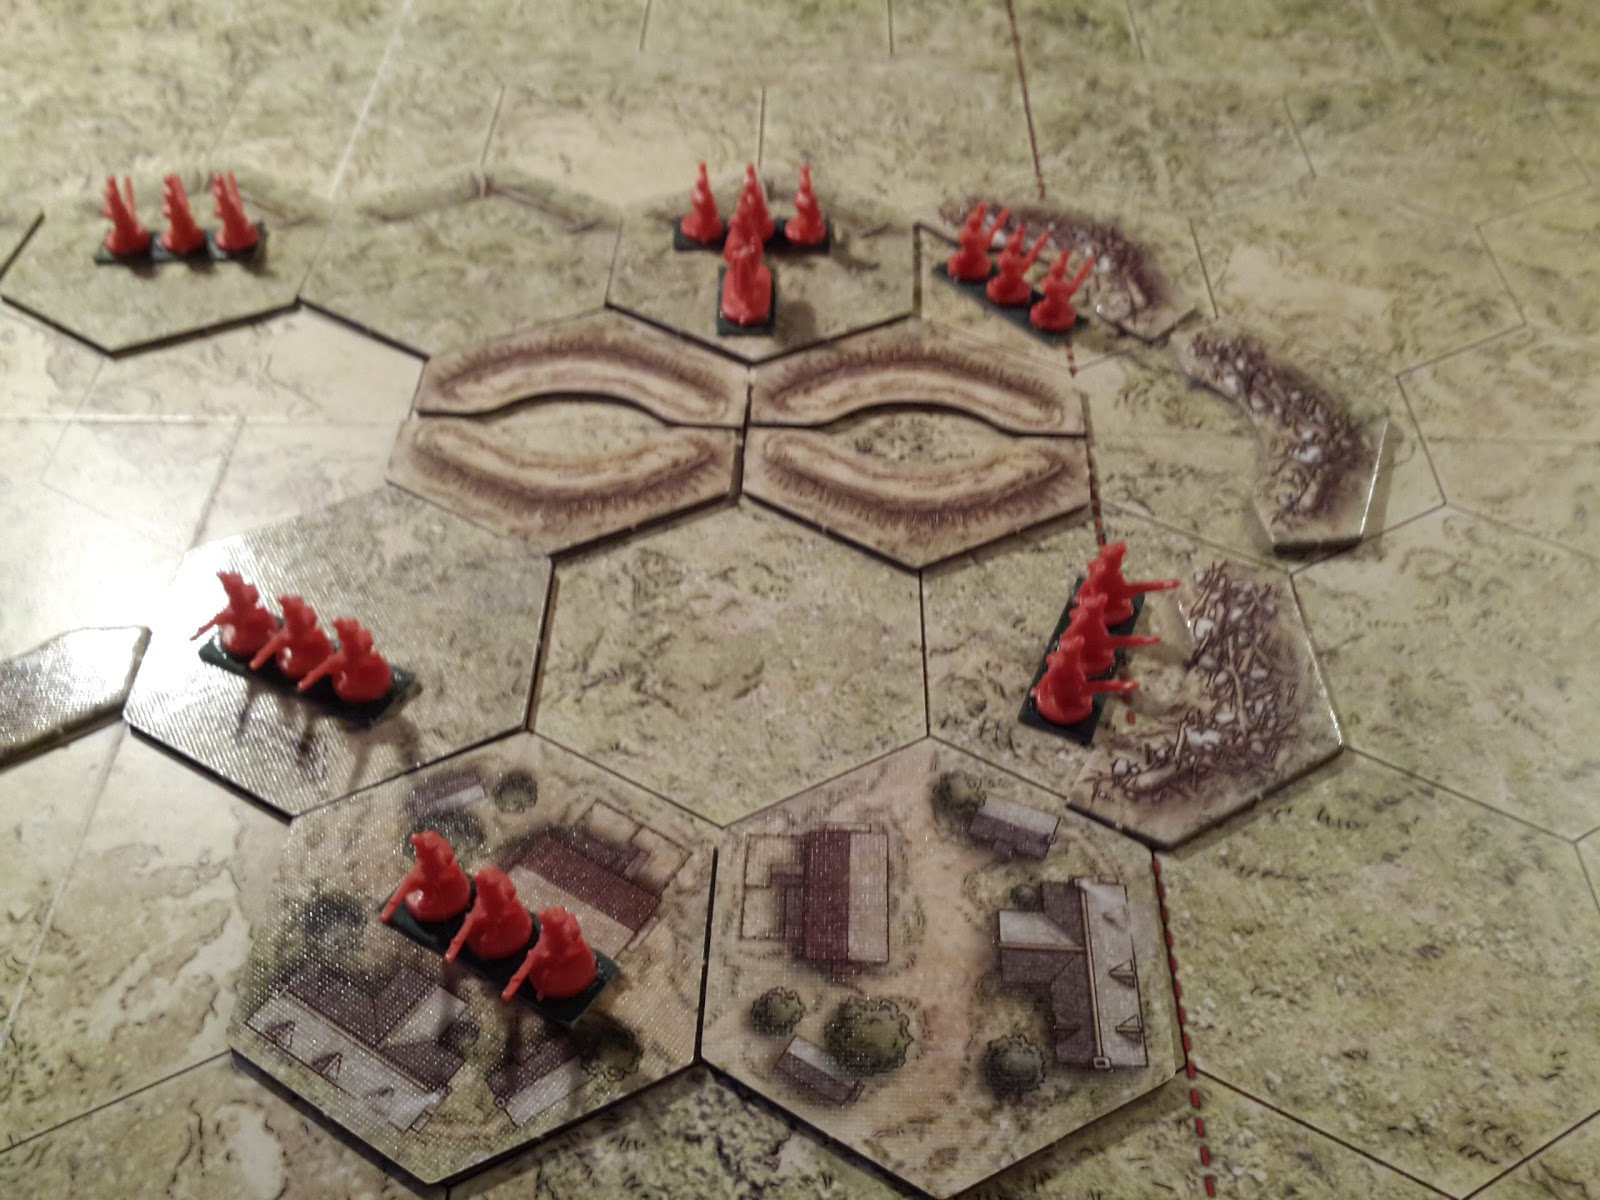
 The cat unfortunately interupted play so I postponed the game to another day.

Tuesday 27 September 2016

Balaclava 1854: Battle Cry Adaptation

Another chance to try out my Crimean War variant for Battle Cry. This time I used the Balaclava scenario on the Command & Colurs: Napoleonics web page.

It started poorly for the Russian Empire and only got worse! A series of attacks on the left flank were repulsed. The Highlanders and Turkish Infantry acting as a reserve charged out and initiated a general advance culminating in a cavalry clash in the centre with the eventual triumph of the Light Brigade reaching the Russian baseline largely unblemished.


The medal count was 7-0! This was the greatest defeat I've ever solo'd. It didn't feel like a rout as the Russians were fighting tenaciously, however, the superiority of the British units and some excellent card selections were influential in determining the outcome. Quite a contrast to the original historical encounter.

The cat decided to occupy the Turkish trenches!

Saturday 24 September 2016

Battle Cry: American War of Independence Variant

I had finalised my Battle Cry Variant Period rules and summary tables and thought I'd have an AWI game using the scenarios on the Command & Colours: Napoleonic website with my Airfix figures painted in the appropriate red and blue with recently mounted counters and medal tokens.


This was the Bemis Heights scenario. It saw an initial strong British attack eventually repulsed and the dastardly colonials victorious after a successful push in the centre. The rules work great providing a really excellent game that didn't melt the brain cells. 


Blenheim 1704: Frederick's War (Hold the Line)

I was experimenting with mixing 6mm figures and some counters I'd downloaded and printed from Boardgame Geek to represent some of the other nationalities in the 18th Century not covered by the Frederick's War: Hold the Line rules system.


A vassal module provided a Blenheim scenario which I setup with counters then added my 6mm Malburian collection - largely unpainted unfortunately - future project!

Heroquest: The Rescue of Sir Ragnar

So much fun is packed into this old boardgame. It has everything you want and always delivers great entertainment no matter how I pay it - solo or with friends and family.


I trundled the old heroes out to rescue Sir Ragnar - again! I had created a few additions to add more flavour - hero actions to make my solo decisions less predictical, dungeon tokens to allow the Evil Wizard some more options and monster abilities to beef up the dungeon denziens.


Who disturbs the Mighty Smaug!

One Hour Wargames: Normandy 1944

I setup a nice looking scenario for my 6mm WW2 figures. I tried to make the playing area look a bit more appealing - more of the production values you see in Board Games. A great deal of my enjoyment comes from the visual aesthetic appeal of a nicely setup game.


Monday 5 September 2016

Napoleon's War: Borodino

I was comparing a couple of setup options for my conversion of the Worthington Games Napoleons War board game. I think I preferred the use of the Command & Colours Napoleonics board and tiles rather than using my breakthrough boards for Memoir'44.

Here is the C&C setup.


The breakthrough board felt a little too large and I think I liked the matt green finish of the C&C board in contrast to the sheen of the M'44 option. The board also didn't have the modern medal tracks which reduced period flavour.


Here are some other shots of the options and an early cat intervention into the decision making process.